Wednesday, March 26, 2014

Disappearing 9-patch


Just sharing this awesome quilt that my friend and client, Linda Mason, brought for quilting.  I've seen quite a few quilts of this pattern but never that thrilled me like this one.  It just made me happy to look at it.


Some close details.  Linda's collection of Japanese fabrics and Asian prints is wonderful.


Don't you just love these little characters?  I see a Disappearing 9-patch in my future...well, someday anyway.   Happy Quilting!

Monday, March 24, 2014

Spirit of Sacagawea...nearing completion!

 I can seriously say, I was not sure this day would ever arrive.  Finally, the top is finished and quilting can commence.  It has been quite some time since this quilt has gotten attention.  There was a little bit of time yesterday to work on the bottom row of sashing.  When I came up to the studio this morning it was really cold since the stove ran out of pellets....SO! hmmm...finish this up.  Cold is a good excuse to do other things because the Gammill really hates to cooperate when it's too chilly, or perhaps I just don't like to either.


For anyone who hasn't seen this project already, it's from the book "The Spirit of Sacagawea" by Laurie Simpson and Polly Minick.  They have a Flickr group here with pictures others have posted photos of their work.  Pinterest is another place to see awesome versions...just do a search for Spirit of Sacagawea quilts and you will be amazed.

Overall, I think it looks great!

This block is called "Chokecherry".  I decided my berries needed to be blue, like huckleberries or blueberries.  Yes, I always need to be different, what can I say.  Still need to add the embroidery on the stems, inking didn't cut it (I was hopeful).

This block is called "Stack of Coins".  You will find Sacagawea on a coin!  My machine piecing skills are so evident here, my scant 1/4" is never scant enough.  I considered redoing the block and then decided to add a border to bring it up to size.  I really don't care for the look so the verdict is still out on a re-do.

I think this is my favorite block of the whole quilt.  It is called "Salmon berry".  

This block is called "Rocky Mountain Pass" in the book.  I call it Cogs.  Let's just say I'm glad this one is finished and whether or not I like it doesn't matter because, after all, it's finished.

Thursday, March 6, 2014

"Some Assembly Required"

My dear friend, Nancy, recently sent me this pattern.  Camelot, designed by Trish Harper.  You can find this pattern on Broderie for purchase as well as look through their Flickr account to see amazing photos of wonderful blocks.
 I happen to be a handwork junkie.  I prefer applique but any handwork will do.  Knitting, embroidery, whatever, I love them all.  I have a feeling that Nancy knew I would not be able to resist this pattern.

 This is Block #1.  I'm going to refer to them as "rounds" since I've yet to add the setting that will make them into blocks.  I'm saving that step for the end as I have a twisted plan for accomplishing it...a little divergence, shall we say?
 Round #2 I just completed this morning.  So much for a "work in progress Wednesday".  There are sixteen blocks in all for this project and so far they're moving along pretty quickly.

Why is it that after I choose fabrics and get them stitched together do I always see what I could have done better?  In the big scheme of things I know it will be fine but I kind of wish my center circle (behind the X) were lighter and wishing my green points were darker.  Oh well, persevering.

 Hand piecing is so wonderfully accurate, given the assumption that my templates were precise.

I like to run the pattern through the copier and print it on template plastic.

Pro's: Perfect straight lines (though you must check that the copier doesn't warp anything)

Con's: Ink can take too long to dry unless you're patient, and still it can rub off the plastic and onto your fabric.
Love that nice flat center.  I'm not great at machine piecing so I know this would NOT have turned out great had I tried it that way.  For proficient machine people, give it a shot, probably so much faster.

There is probably a technique for tightening up that center (see the bitty hole?).  If you know what it is please share with me.  Several of the blocks have just this kind of center and I would love to know how to improve.


Happy Quilting,
Laurel

Monday, February 24, 2014

Paducah bound!

Just heard "Sleigh Ride" was accepted into the AQS Quilt Show.  Always fun to be selected into a national competition.

Friday, February 21, 2014

A little diversion

I took a little break from quilting last weekend and made this dress for Kit as a birthday gift for my daughter..

The pattern is from Liberty Jane, available through Pixie Faire and also on Etsy.

I was happy for my applique skills and used them on the front and side tabs as well as the pockets.  It actually felt like cheating, getting that kind of accuracy, but it was so worth it.  I did go back and top stitch the pockets so they "looked" like they were applied in the typical fashion.

I think Kit looks mighty cute in her new dress.

Friday, February 7, 2014

Choosing fabrics

I have had numerous questions lately, all inquiring how I selected the fabrics for my Petal by Petal quilt (see previous post).  I'll try to explain my process and inspiration.  


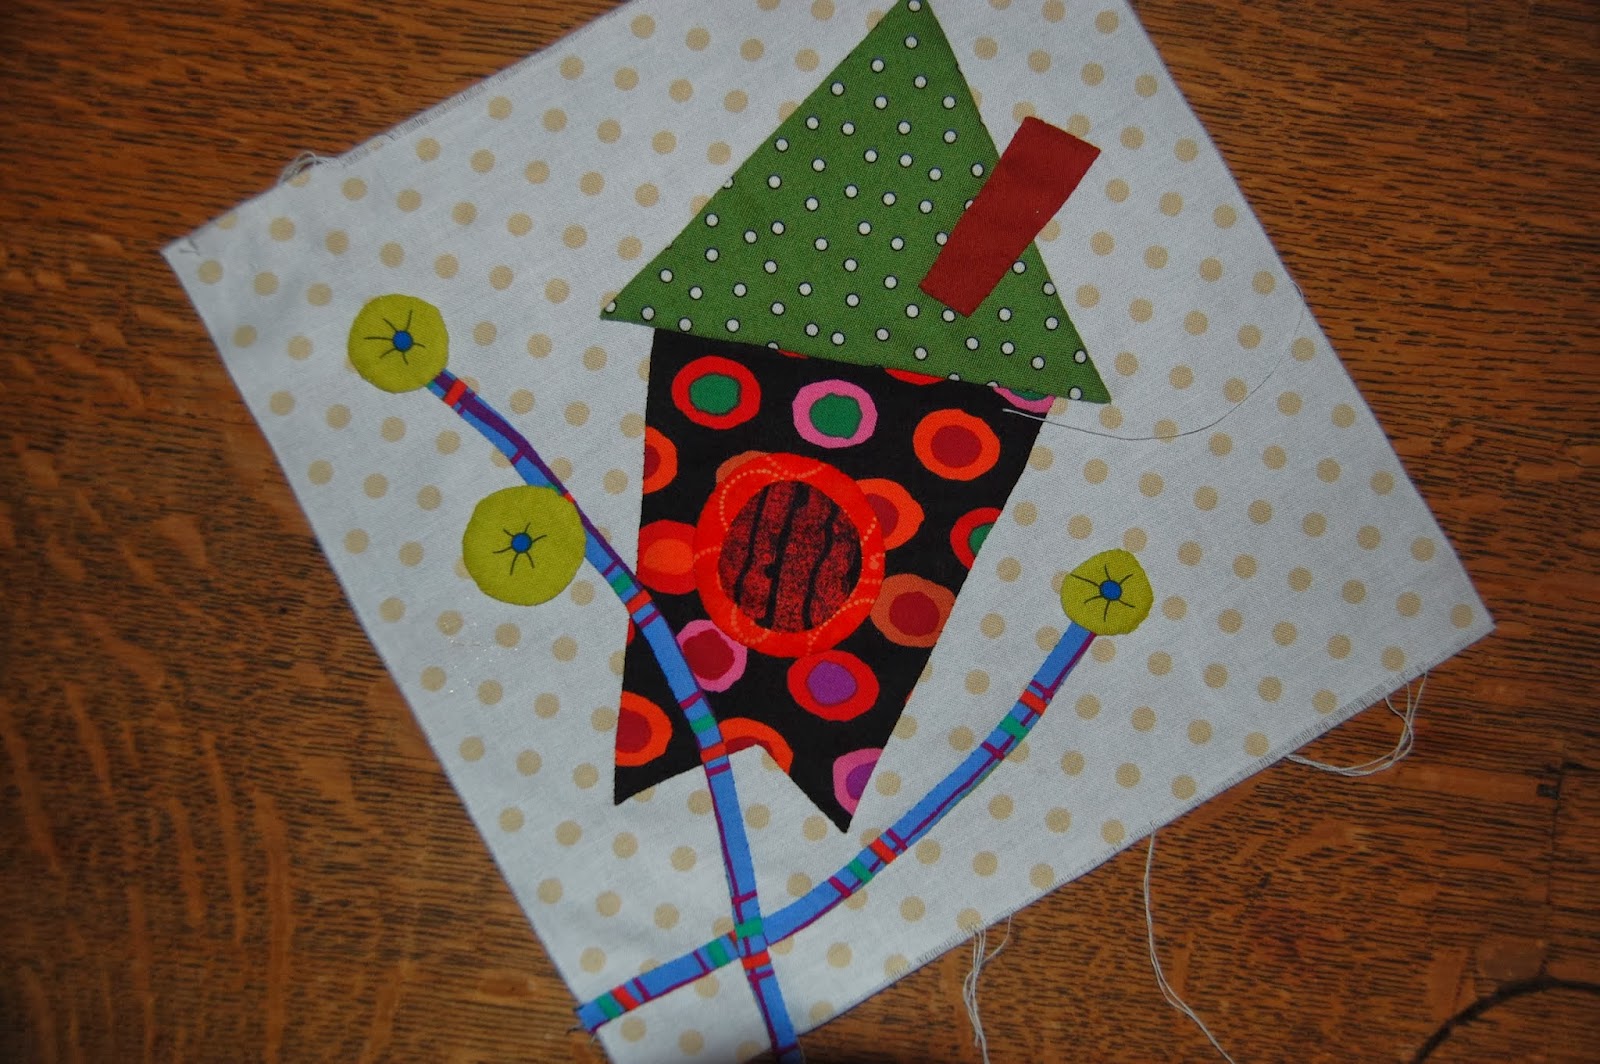
 This sweet little bird house was the product of a workshop I took from Tonye Belinda Phillips.  I was already working on my quilt design.  When I came home I KNEW that I had to use the plaid stem fabric in my project.  Also know this, my absolute favorite color combination is purple, orange and green.  I think that came from years of working in a florist and loving the autumn season colors most.


I bought a yard of the plaid (Westminster - Brandon Mably)  for my stems and though I love the way it looks on the straight grain (on the birdhouse block) I knew bias was the best way to make it easy.  Fortunately it was equally awesome.


My thought process was that I wanted to use a combination of patterned fabrics and solids, preferably no floral.  The next step was to choose the solids (Kona solids, yum) with my "favorite" piece being the inspiration.  This was pretty simple.  Hello favorite colors :)


I wasn't finished with my quilt design at this point, I was just in the fabric collecting mode so I didn't feel anything needed to be set in stone.  If I bought something that didn't work out it would just go into the stash.  I purposed to find at least two patterned fabrics for each solid.  The lighter stripe has the added bonus of a lavender stripe in it.  The darker orange stripe looked great with the purple.  I'm sorry there wasn't enough selvage to determine the manufacture but there are so many great stripes I would hate for anyone to limit themselves to these.


This lavender print is little rotary cutters. As hard as I searched I couldn't come up with the name of this line of fabric.  I also chose a darker purple chevron piece that I used for the berries, evidently it isn't still in my stash.


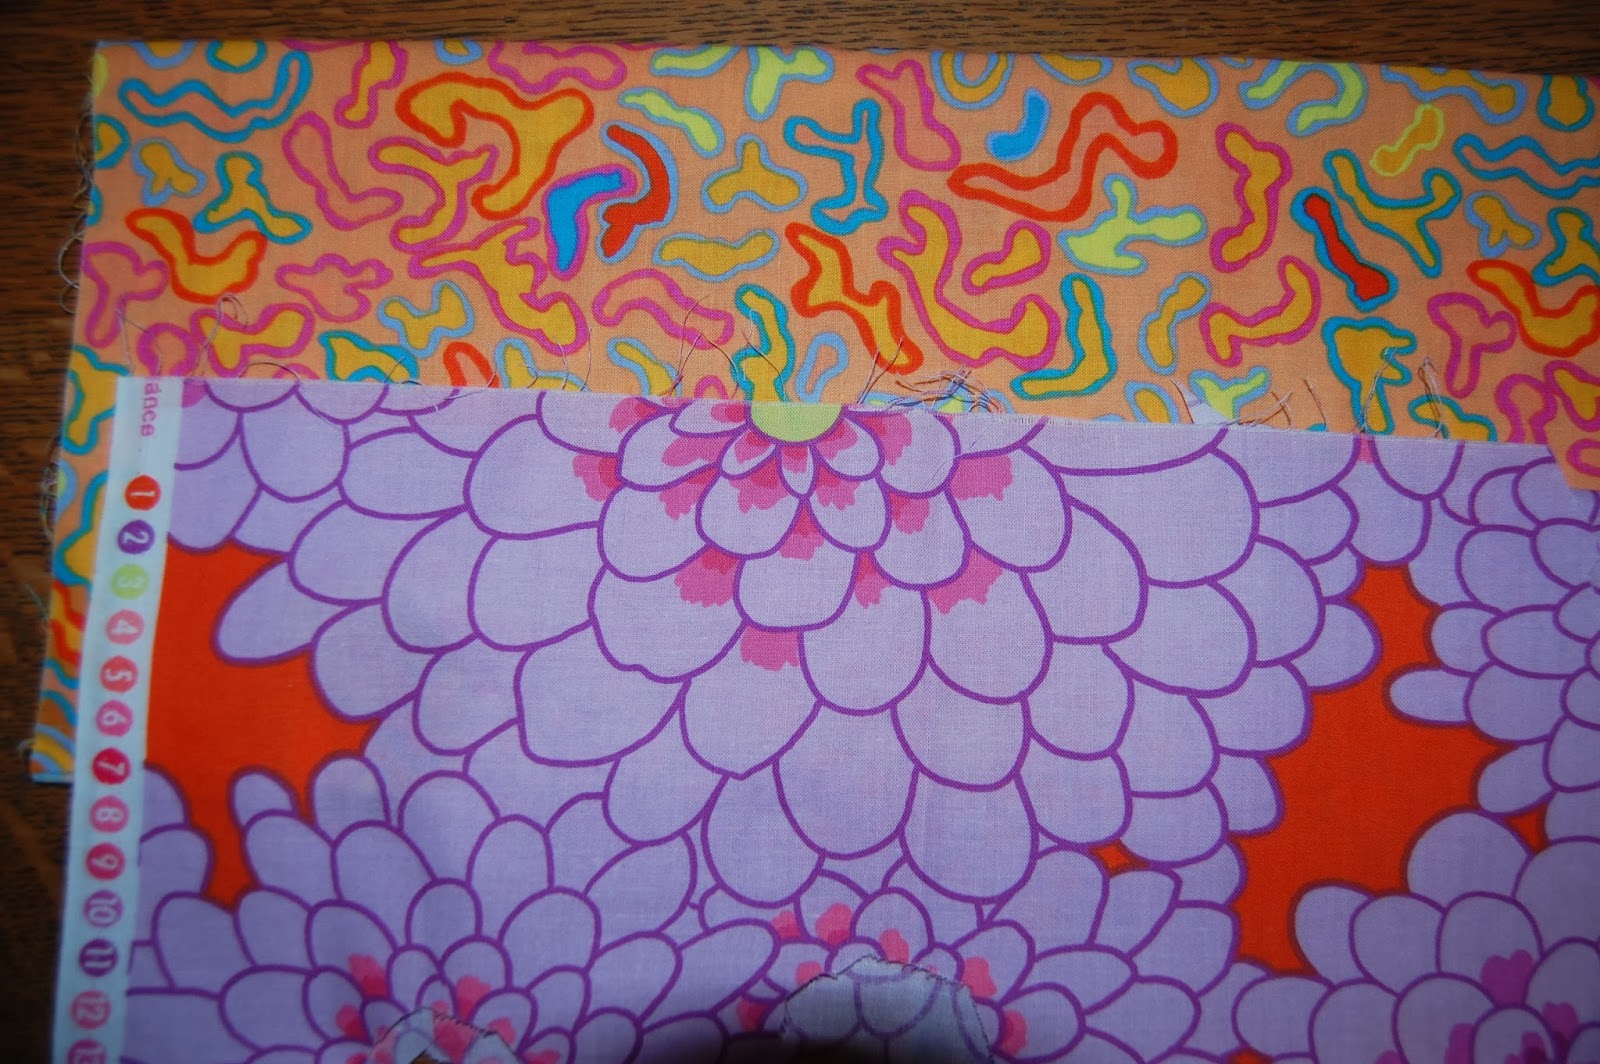
Then by some miracle I found this amazing chevron print.  I did NOT instantly see leaves here, that was a happy accident.  This piece gets a lot of attention.  It is a Westminster fabric (Fassett or Mably, I'm not sure which).


Of course I needed a few "blenders" and these two older Fassett prints work.  They qualified because they both contained orange and purple.


So this is how they all looked together.  There are at least three pieces missing here.  The basket, the motif that ended up in the center of the orange round flower (seriously, any motif will work) and the dark purple berry chevron.


Finally, I chose the background print.  The crisp white to really accentuate the bright bold color and the tan pattern to match the style of my design plan, besides breaking up a vast expanse of white.

I hope this answered any questions, feel free to ask if I missed something.  My biggest hope is that anybody who decides to make the quilt would make it their own.  Choose what you love and go for it!!

Happy Quilting,
Laurel

Tuesday, January 28, 2014

Big news!


The time has finally come that I'm able to share my exciting news.  My quilt is in the upcoming April 2014 issue of American Patchwork & Quilting magazine.  Here's a picture of the cover (not my quilt), but the little "gorgeous applique" square in the upper right hand corner refers to my project.

Yes, obviously I'm excited, this is my first time being published.
   
“Used with permission from American Patchwork & Quilting® magazine. ©2014 Meredith Corporation. All rights reserved.”

 This project was such a labor of love.  From the first design work, finding just the right fabric, and then working up the first block.  Joyous colors, my favorite actually.  Who can't love purple and orange?
 “Used with permission from American Patchwork & Quilting® magazine. ©2014 Meredith Corporation. All rights reserved.”

The diagonal set of the repeated block is what creates all the movement and I can't wait to try this idea again, I've got a dozen ideas floating around in my head.  I hesitate to make a new time commitment and then realized I can make just one block and multiply it on the computer before I continue on.  Hmmm...I may be getting started sooner than I thought.

“Used with permission from American Patchwork & Quilting® magazine. ©2014 Meredith Corporation. All rights reserved.”

A big thank you to American Patchwork & Quilting for including me in your magazine, you were all so wonderful to work with, it was a real pleasure.